Creating Knowledge Cards
Understanding Knowledge Cards
Knowledge Cards help you transform information from research papers, documents and other sources into organized, searchable insights. Think of them as enhanced digital index cards that can include text, images, equations and direct links to your source materials.
When you create a Knowledge Card, you're building a permanent record of important information that you can later search and share with others. Cards work particularly well when you're reading through research papers and want to capture key findings, methodologies, or quotations for future use.
Before You Start
You'll need to be logged into your Elumity account with access to the Cards module. If you're planning to create cards from PDF sources, it's helpful to have those documents already uploaded to your Files.
Consider what type of information you want to capture. Are you summarizing a research paper's main findings? Recording a methodology you want to reference later? Collecting quotations on a specific topic? Having a clear purpose will help you structure your card effectively.
Creating Your First Card
Navigate to the Cards section using the main navigation bar at the top of your screen. You'll see your existing cards displayed in a grid format, along with any folder organization you've set up.
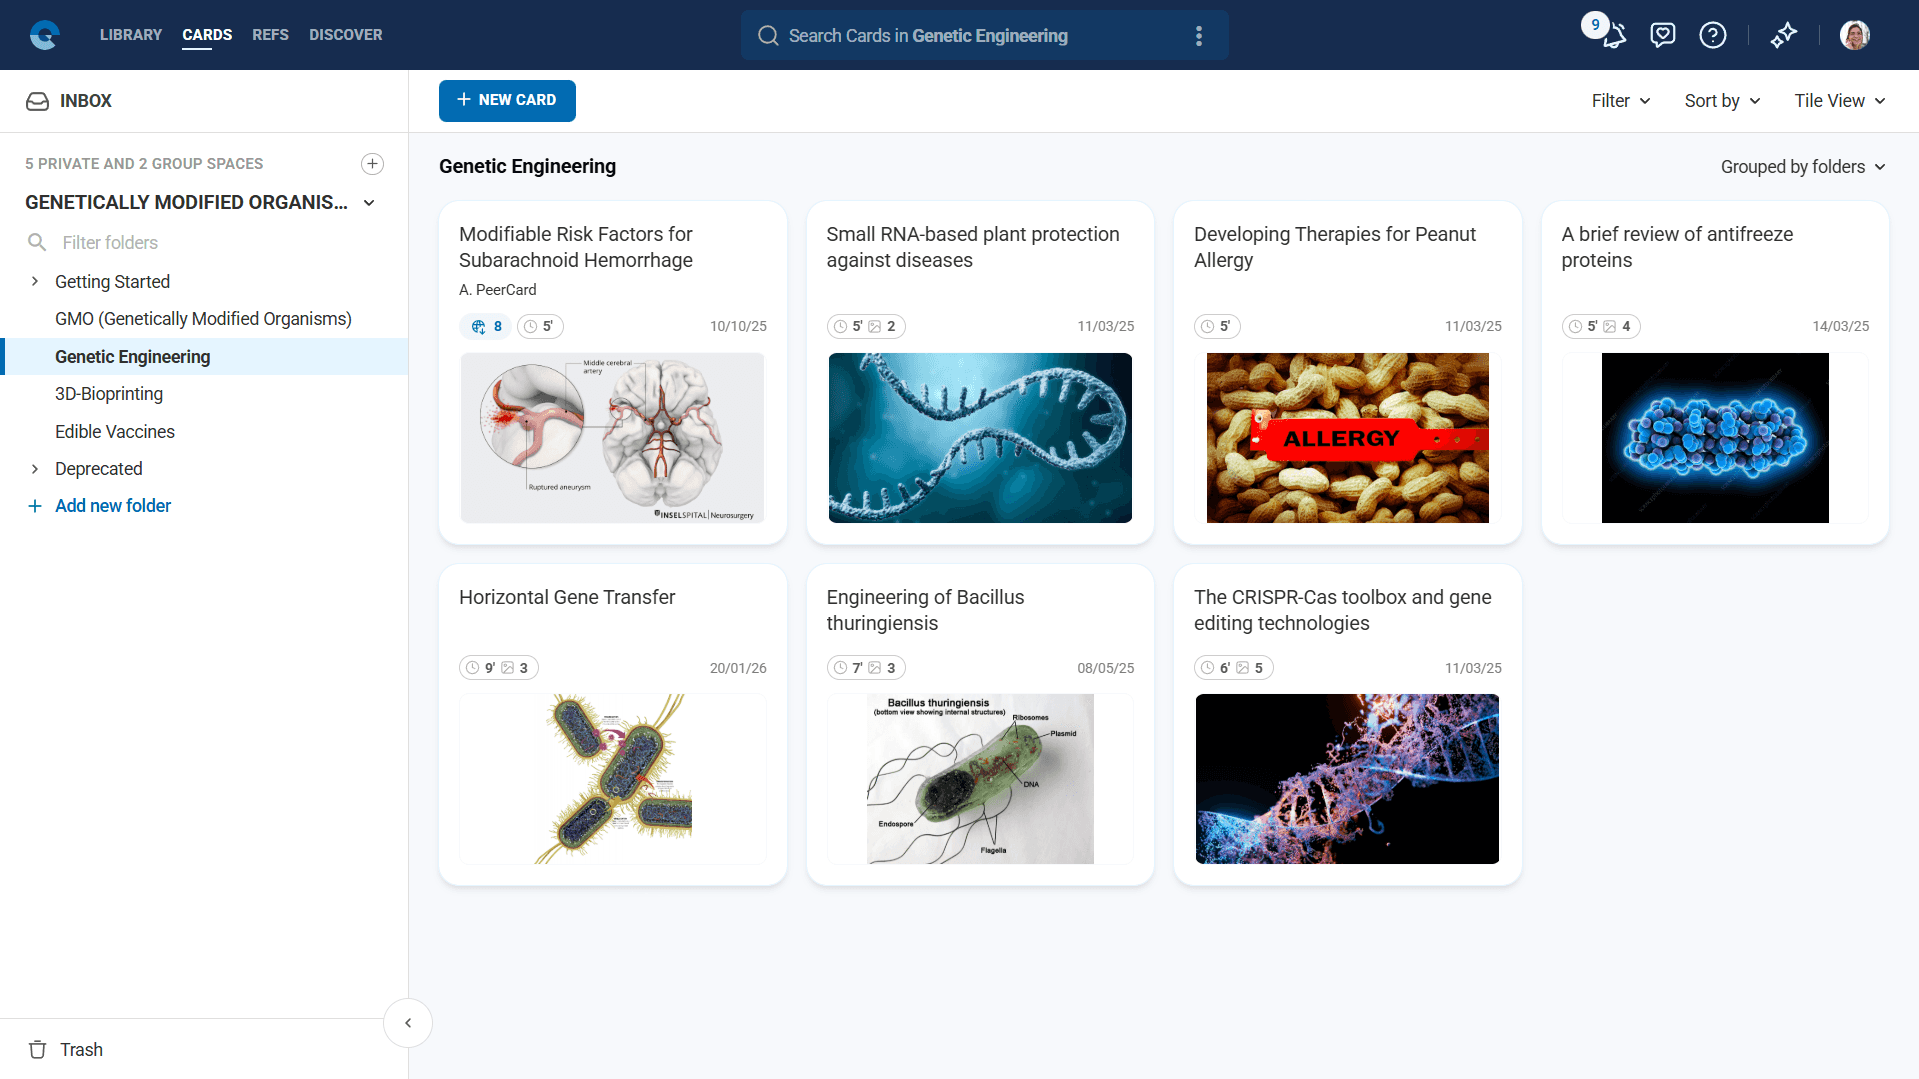
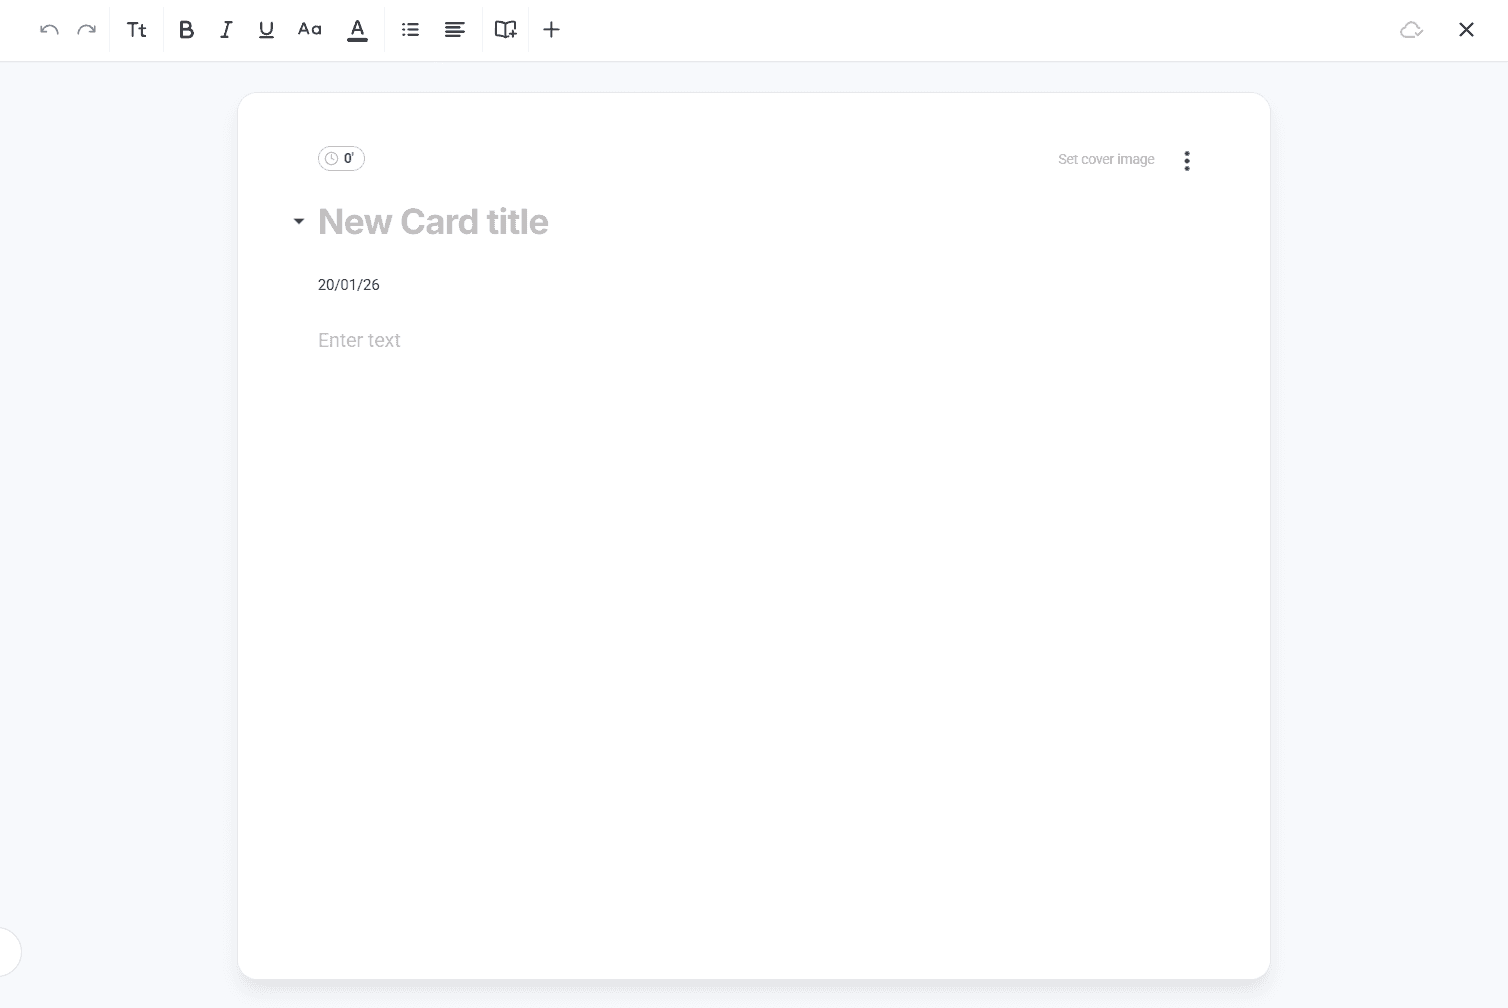
Click the "New Card" button, which appears prominently in the main content area. This opens a blank card editor where you'll build your content.
The first thing you'll see is a title field at the top of the card. Choose a descriptive title that will help you find this card later when searching. For example, instead of "Smith Study," use something like "Smith 2023 - Machine Learning Applications in Medical Diagnosis" or "Methodology: Qualitative Interview Analysis Framework."
Working with the Text Editor
Below the title, you'll find a comprehensive text editing toolbar. This toolbar contains all the formatting options you'll need to structure your card content effectively.
Setting Up Your Content Structure
Start by deciding how you want to organize your information. Most effective cards follow a logical structure, such as:
For research summaries, you might use H2 headings for "Key Findings," "Methodology," and "Implications." For concept explanations, consider "Definition," "Applications," and "Related Concepts."
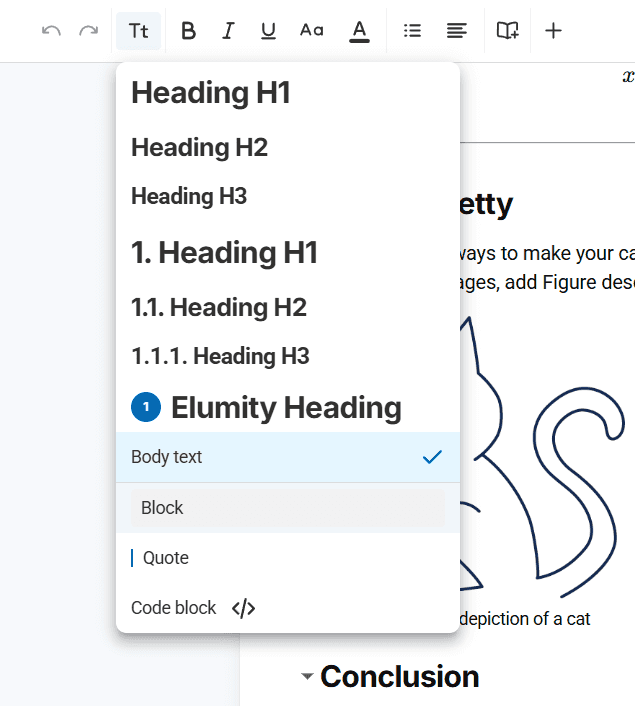
To create headings, click on the text format dropdown in the toolbar (it initially shows "Body text") and select H1, H2, or H3 depending on your hierarchy needs. H1 is for major sections, H2 for subsections and H3 for smaller divisions within those.
Adding and Formatting Content
Type your content directly into the editor. As you write, the card automatically saves your work, so you don't need to worry about losing information.
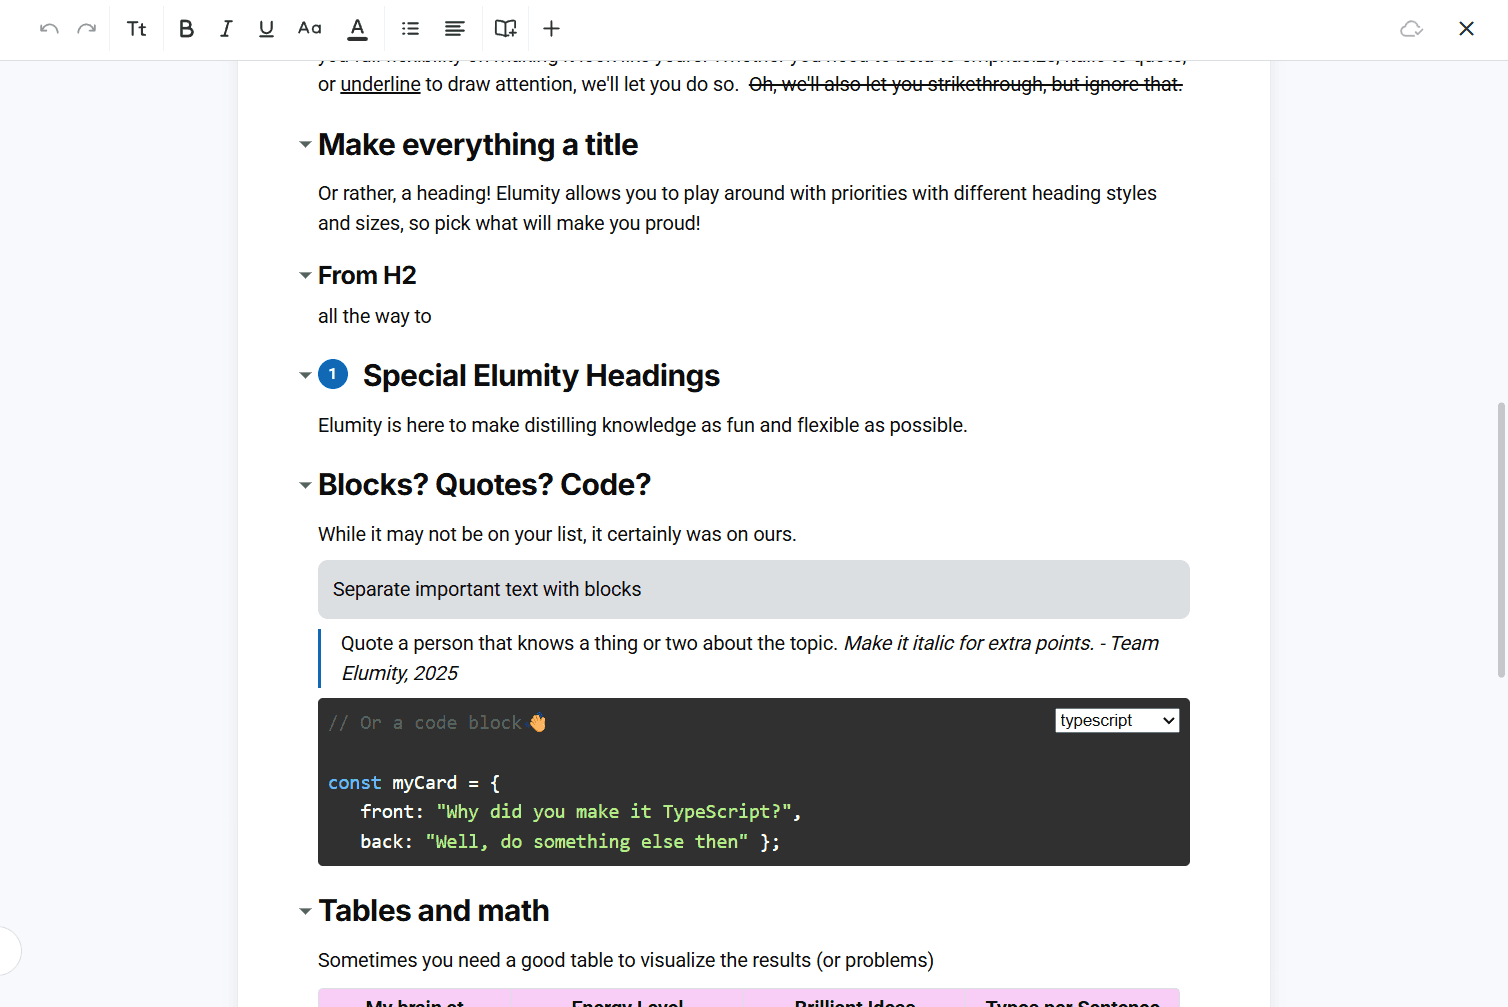
Use the formatting tools in the toolbar to emphasize important information. The bold button works well for key terms or findings. Italics help with book titles, scientific names, or subtle emphasis. When you want to include exact quotations from sources, use the block quote format by selecting your text and clicking the quote option in the format dropdown.
If you're including numbered procedures or sequential steps, use the numbered list button. For related points that don't need to be in order, the bulleted list works better. You can also create checklists if you're tracking tasks or criteria.
Working with Color and Alignment
The text color tool lets you highlight different types of information. You might use one color for your own analysis and another for direct quotations from sources. Click the color button to see preset options, or use the color wheel to choose specific colors.
For text alignment, most content works best left-aligned, but you might want to center headings or right-align dates and author information. Use the alignment buttons in the toolbar to control how your text appears on the page.
Adding References and Citations
One of the most important aspects of creating academic Knowledge Cards is properly citing your sources. The reference button (marked "Ref" in the toolbar) opens a comprehensive citation system.

Searching Academic Databases
Click the "Ref" button and select "Add Reference" to search academic databases directly from within your card. The system searches OpenAlex by default, which covers millions of academic papers across disciplines.
Type your search terms into the search field. Use specific terms rather than general ones - for example, "machine learning medical diagnosis accuracy" rather than just "machine learning." The system will show you matching papers with their titles, authors and publication information.
When you find the paper you want to cite, click on it to add it to your card's reference list. The system automatically formats the citation according to academic standards.
Adding Website and Custom References
If you need to cite a website, click "Website" in the reference dialog and enter the page title and URL. For sources that aren't in the academic databases, use "Custom Reference" to manually enter the citation information.
The "My References" option shows citations you've already added to other cards or your main reference library, making it easy to reuse sources across multiple cards.
Integrating Multimedia Content
Cards become more valuable when they include relevant images, diagrams, or other media that support your text content.
Adding Images
Click the plus button that appears when you hover at the left edge of any paragraph. This opens the content block menu where you can select "Media."
You have several options for adding images:
Upload from your computer by clicking "Upload" and selecting the image file. This works well for screenshots, diagrams from papers, or photos of physical materials.
If you have an image URL from the web, paste it into the "Add link" option. The system will download and store the image in your card.
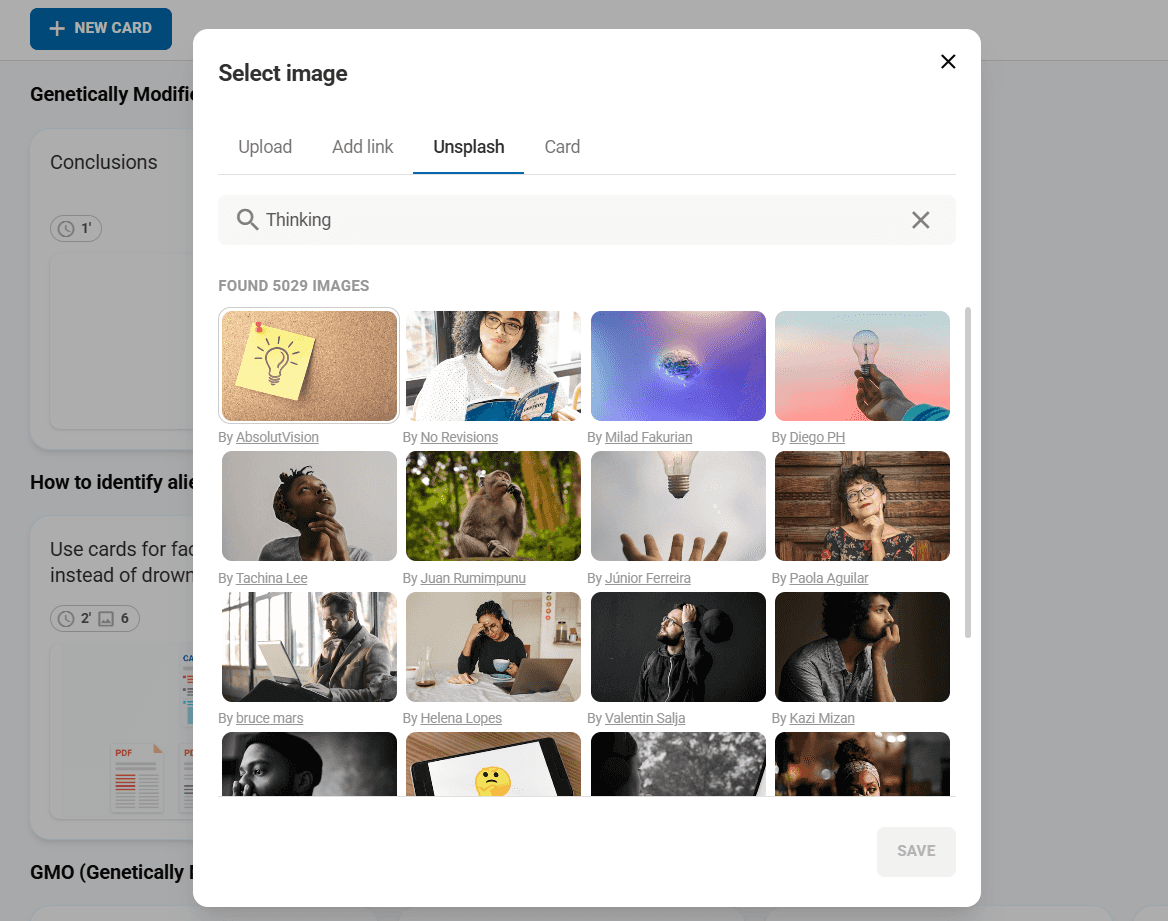
The Unsplash integration provides access to professional stock photos. Search for terms related to your topic to find high-quality images that illustrate your concepts.
Managing Image Properties
After adding an image, click the three-dot menu on the image to access additional options. You can add a reference citation for the image source, which is important for academic integrity. The "Add note" option lets you include captions or explanations.
If this image best represents your card's content, use "Make cover" to set it as the thumbnail that appears in your card library. This makes the card easier to identify when browsing.
Creating Tables and Equations
For more complex content, you'll often need structured data presentation or mathematical notation.
Building Data Tables
Click the plus button and select "Table" to create a structured data presentation. Start by deciding how many columns and rows you need, keeping in mind that you can add more later.
Tables work well for comparing research studies, presenting survey results, or organizing any information that benefits from a grid structure. Use the first row for column headers that clearly describe what each column contains.
Click in any cell to add content. You can use the same text formatting options within table cells, including bold headers and italicized details.

Adding Mathematical Content
For equations and formulas, click the plus button and select "Equation." This opens a LaTeX editor where you can create mathematical notation.
If you're not familiar with LaTeX, start with simple expressions like "x^2 + y^2 = z^2" for basic formulas. The system renders your equation as you type, so you can see how it will appear in your card.
Common LaTeX expressions include \frac{numerator}{denominator} for fractions, \sqrt{expression} for square roots and \sum for summation symbols. Replace "numerator" and "denominator" with your actual values and "expression" with the value you want to take the square root of.
Organizing Content with Dividers
As your card grows longer, use dividers to separate different sections visually. Click the plus button and select "Divider" to add a horizontal line that breaks up your content.
Dividers work particularly well between major sections like "Background," "Methodology," and "Conclusions" in research summary cards.
Working with AI Assistance
The AI button in the toolbar provides several helpful functions for improving your card content.
Grammar and Style Improvement
"Fix spelling and grammar" reviews your text for basic errors and suggests corrections. This is particularly helpful when you've been typing quickly while reading source materials.
"Improve writing" goes beyond basic grammar to suggest clarity and style improvements. It can help make your academic writing more concise and readable.
Content Development
"Make longer" helps when you have good ideas that need more development. The AI suggests ways to expand your points with additional detail and explanation.
"Make shorter" works in the opposite direction, helping you condense lengthy content while preserving the essential information.
The "Translate" function supports multiple languages, which is valuable when working with international research sources.
Custom AI Queries
"Ask AI anything" lets you pose specific questions about your content. For example, you might ask "How could I better organize this information?" or "What are the limitations of this methodology?"
Copying Content from PDFs
One of Elumity's most powerful features is the ability to create cards while reading PDFs. This workflow saves significant time and maintains the connection between your insights and their sources.
When you have a PDF open in Elumity's viewer, you can create and edit cards in the right sidebar without leaving the document. Create a new card or open an existing one using the sidebar controls.
As you read through the PDF, select any text that you want to capture in your card. When you select text with an active card open, a context menu appears with several options:
"Copy to card" transfers the selected text directly to your current card at the cursor position. This maintains the formatting and allows you to continue building your card while reading.
The regular "Copy" option puts the text in your clipboard for pasting elsewhere. "Highlight," "Underline," and "Strikeout" create annotations in the PDF itself while also copying to your card if desired.
This integrated workflow means you can read a research paper and build a comprehensive summary card simultaneously, capturing key quotations, methodology details and findings as you encounter them.
Setting Cover Images and Metadata
After creating your card content, take time to set up the metadata that will help you find and use the card later.
Click "Set cover image" in the upper left corner of your card editor. If you've included images in your card content, you can select one of those as the cover. Otherwise, you can upload a new image or search Unsplash for an appropriate visual.
The cover image appears as a thumbnail when viewing your card library, making it easier to identify specific cards quickly.
Adding Keywords and Author Information
Use the three-dot menu in the upper right corner of your card to access additional metadata options.
"Add keywords" opens a field where you can enter searchable terms. Think about what words you might use to find this card later. Include the main topic, the research methodology, key findings and any related concepts.
"Manage authors" is important if you're working in a collaborative environment. Add any co-creators or contributors to ensure proper attribution.
Saving and Managing Your Card
Cards automatically save as you work, indicated by a small "Saved" indicator near the top of the editor. When you're finished editing, click the close button to return to your card library.
Your new card will appear in the current folder location. You can move it to different folders by selecting the card and using the "Move" option from the three-dot menu.
Organizing Multiple Cards
As you create more cards, organization becomes crucial for finding information quickly.
Use the filtering options to show specific types of cards. "Bookmark" shows only cards you've marked as favorites. The Discover filter shows cards you've shared publicly or saved from other users.
Sorting options help you find cards based on when you last viewed them, when you last modified them, when you created them, or alphabetically by title.
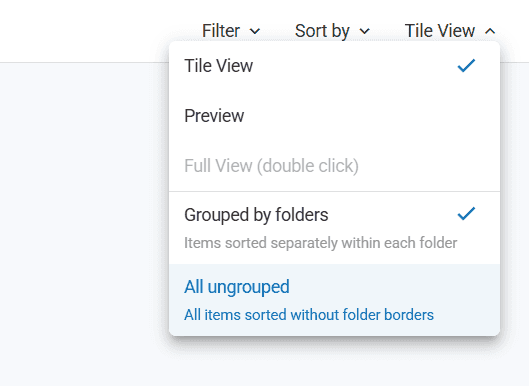
The view options let you choose between the tile view (good for browsing), preview mode (good for quick review), or grouped view (good for seeing folder organization).
Best Practices for Effective Cards
Create cards with future use in mind. Write clear titles that will make sense to you months later. Include enough context in your content that you can understand the information without having to return to the original source.
When summarizing research papers, include the full citation information, key methodology details, main findings and your own analysis of the implications or limitations. This creates a self-contained resource that's valuable for literature reviews or paper writing.
Keep individual cards focused on specific topics rather than trying to cover too much in one card. It's better to have several related cards than one overly complex card that's difficult to navigate.
Regularly review and update your cards as your understanding of topics evolves. The version history feature lets you see how your thinking has developed over time.
Next Steps
Now that you know how to create effective Knowledge Cards, explore how they integrate with other Elumity features:
Learn how to connect your cards to reference databases and maintain proper academic citations in your card content.
Discover how to share cards with collaborators and contribute to the Elumity community through the Discover platform.