2.1.1 New Card
To create a card, navigate to the card module.
Click on the "+ New Card" button to initiate card creation.

2.1.2 Setting Chapter for the Card:
When creating a card, the associated chapter is displayed above the title automatically.
Cards are placed in the chapter you have selected in the left sidebar, where the rest of your chapters are located.

If you want to create a card in a different chapter, select that chapter first and then click "+ New Card" or move the card to the desired chapter later.
2.1.3 Adding Content to the Card:
To add content to your card, simply type or paste your text in the card's text editor.
Instant saving is indicated as you type or add images; there's no need to manually save changes.

2.1.3 The Rich Text Editor:
Elumity's Rich Text Editor provides you with all the tools you need to add expression to your Card. By default, the Rich Text Editor shows up whenever you select a portion of text in a Card you created.

The Rich Text Editor provides you with Heading or Body types, Bold, Italic and Underline, changing the case of your text, creating lists, whether bulleted or numbered, changing the color of your text or highlighting it, and most importantly, adding References using the Ref button.
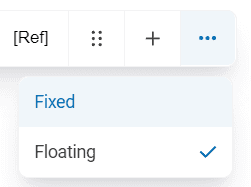
The Rich Text Editor can also be pinned to the top of your Card's menu bar. Simply select the three-dot menu and select "Fixed" instead of "Floating". While the Rich Text Editor is in Floating mode, it will only appear above text once you select it.
2.1.4 Adding Images, Tables, Equations, Code or Dividers:
You can enhance your card by adding images, tables, equations, code or dividers to it.
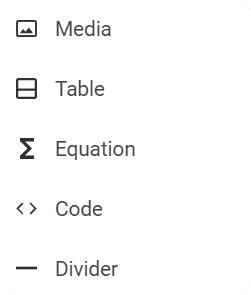
To add the above mentioned, click on the line where you would like to place them, and click on the little "+" icon on the left-hand side. With Elumity's new Rich Text Editor, you're able to do much more with your cards and make them richer with content relevant to your peers.
Images can also be set as the card's cover image using the "Set as cover" icon in the top left corner of the image you're currently hovering over, or you can add text to the right if you'd like to present more information.

2.1.5 Adjusting Cover Images:
Click on the 3-dots menu and select "adjust cover image" to customize the cover image.
Adjust the zoom and position of the image to select the desired area for the card's cover.

2.1.6 Adding References:
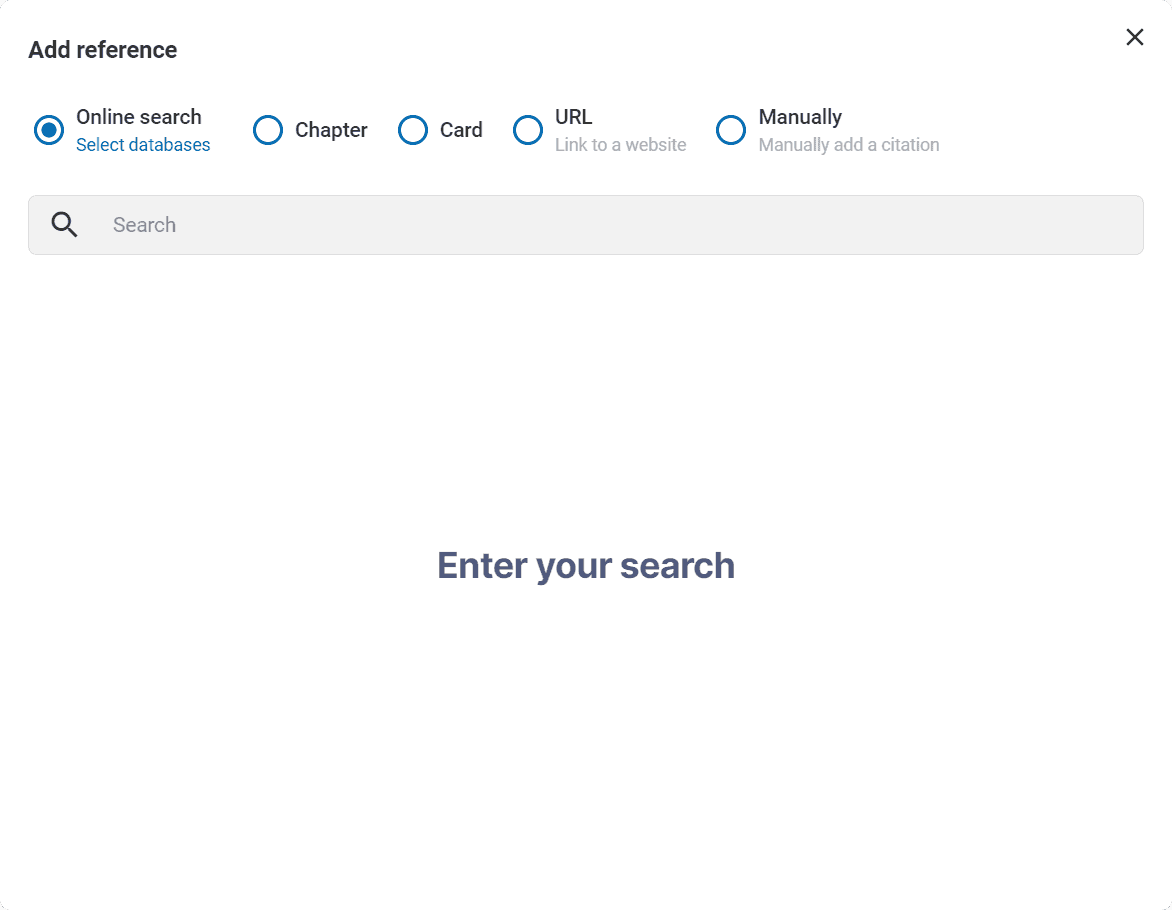
Elumity allows you to add references to your card content.
Start by selecting the text you want to reference, and then selecting the [Ref] function.
You can search for references in the PubMed database, add them via Pubmed-ID or DOI, or by pasting a link. These references are automatically saved in Elumity's reference database.
2.1.7 Managing References:
You can scroll, add multiple references, uncheck references, and view existing references for a fact.
The references list for each Elumity, chapter, or card shows the references associated with them.
2.1.8 Custom References:
Apart from database references, you can add custom references like books or conference proceedings.

2.1.10 Information Labels:
Labels indicate the number of references, PDFs, images, videos, and other card attributes.
Special labels indicate whether a card was copied from the Lounge or is a collaborative card with colleagues.